
Welcome to The
Your Natural Face Therapy Solution for Sleep Apnea
At Website, we understand the importance of a good night's sleep, and we're here to provide you with natural face therapy solutions for sleep apnea. Sleep apnea can be a disruptive and dangerous condition, but with the right treatment and equipment, you can enjoy peaceful, restorative sleep once again.
Services
What I do
Our website is dedicated to providing you with information and resources about sleep apnea, its symptoms, and effective treatments. We also offer a wide range of CPAP machines, masks, and accessories to help you manage your sleep apnea effectively. With Grenat, you'll find the best CPAP solutions in Australia.
Why Choose Us?
About Natural Face Therapy
Natural Face Therapy is a trusted name in the field of sleep apnea therapy in Australia. With over a decade of experience, we are committed to improving the lives of those affected by sleep apnea. Our mission is to provide comprehensive information about sleep apnea, and its treatment options, and to offer high-quality CPAP machines and masks to our customers.
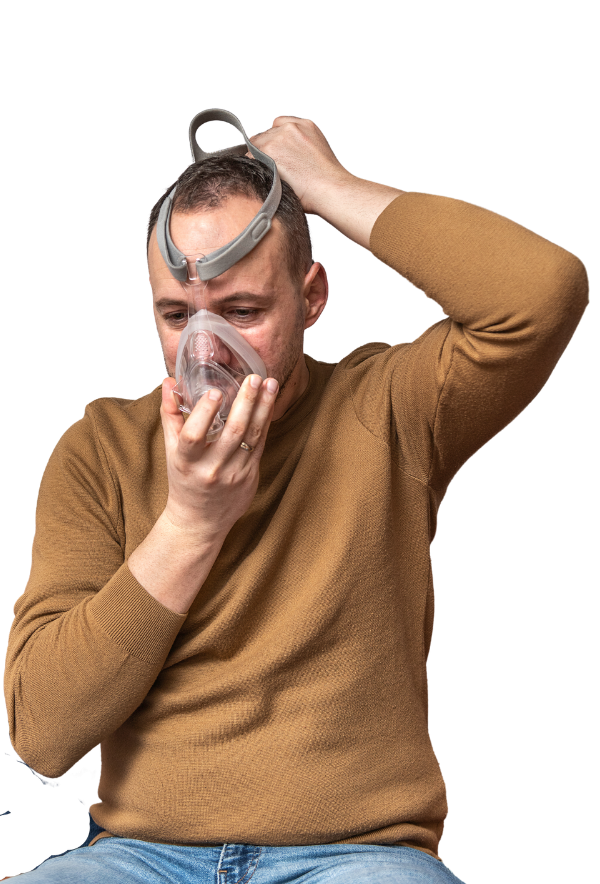
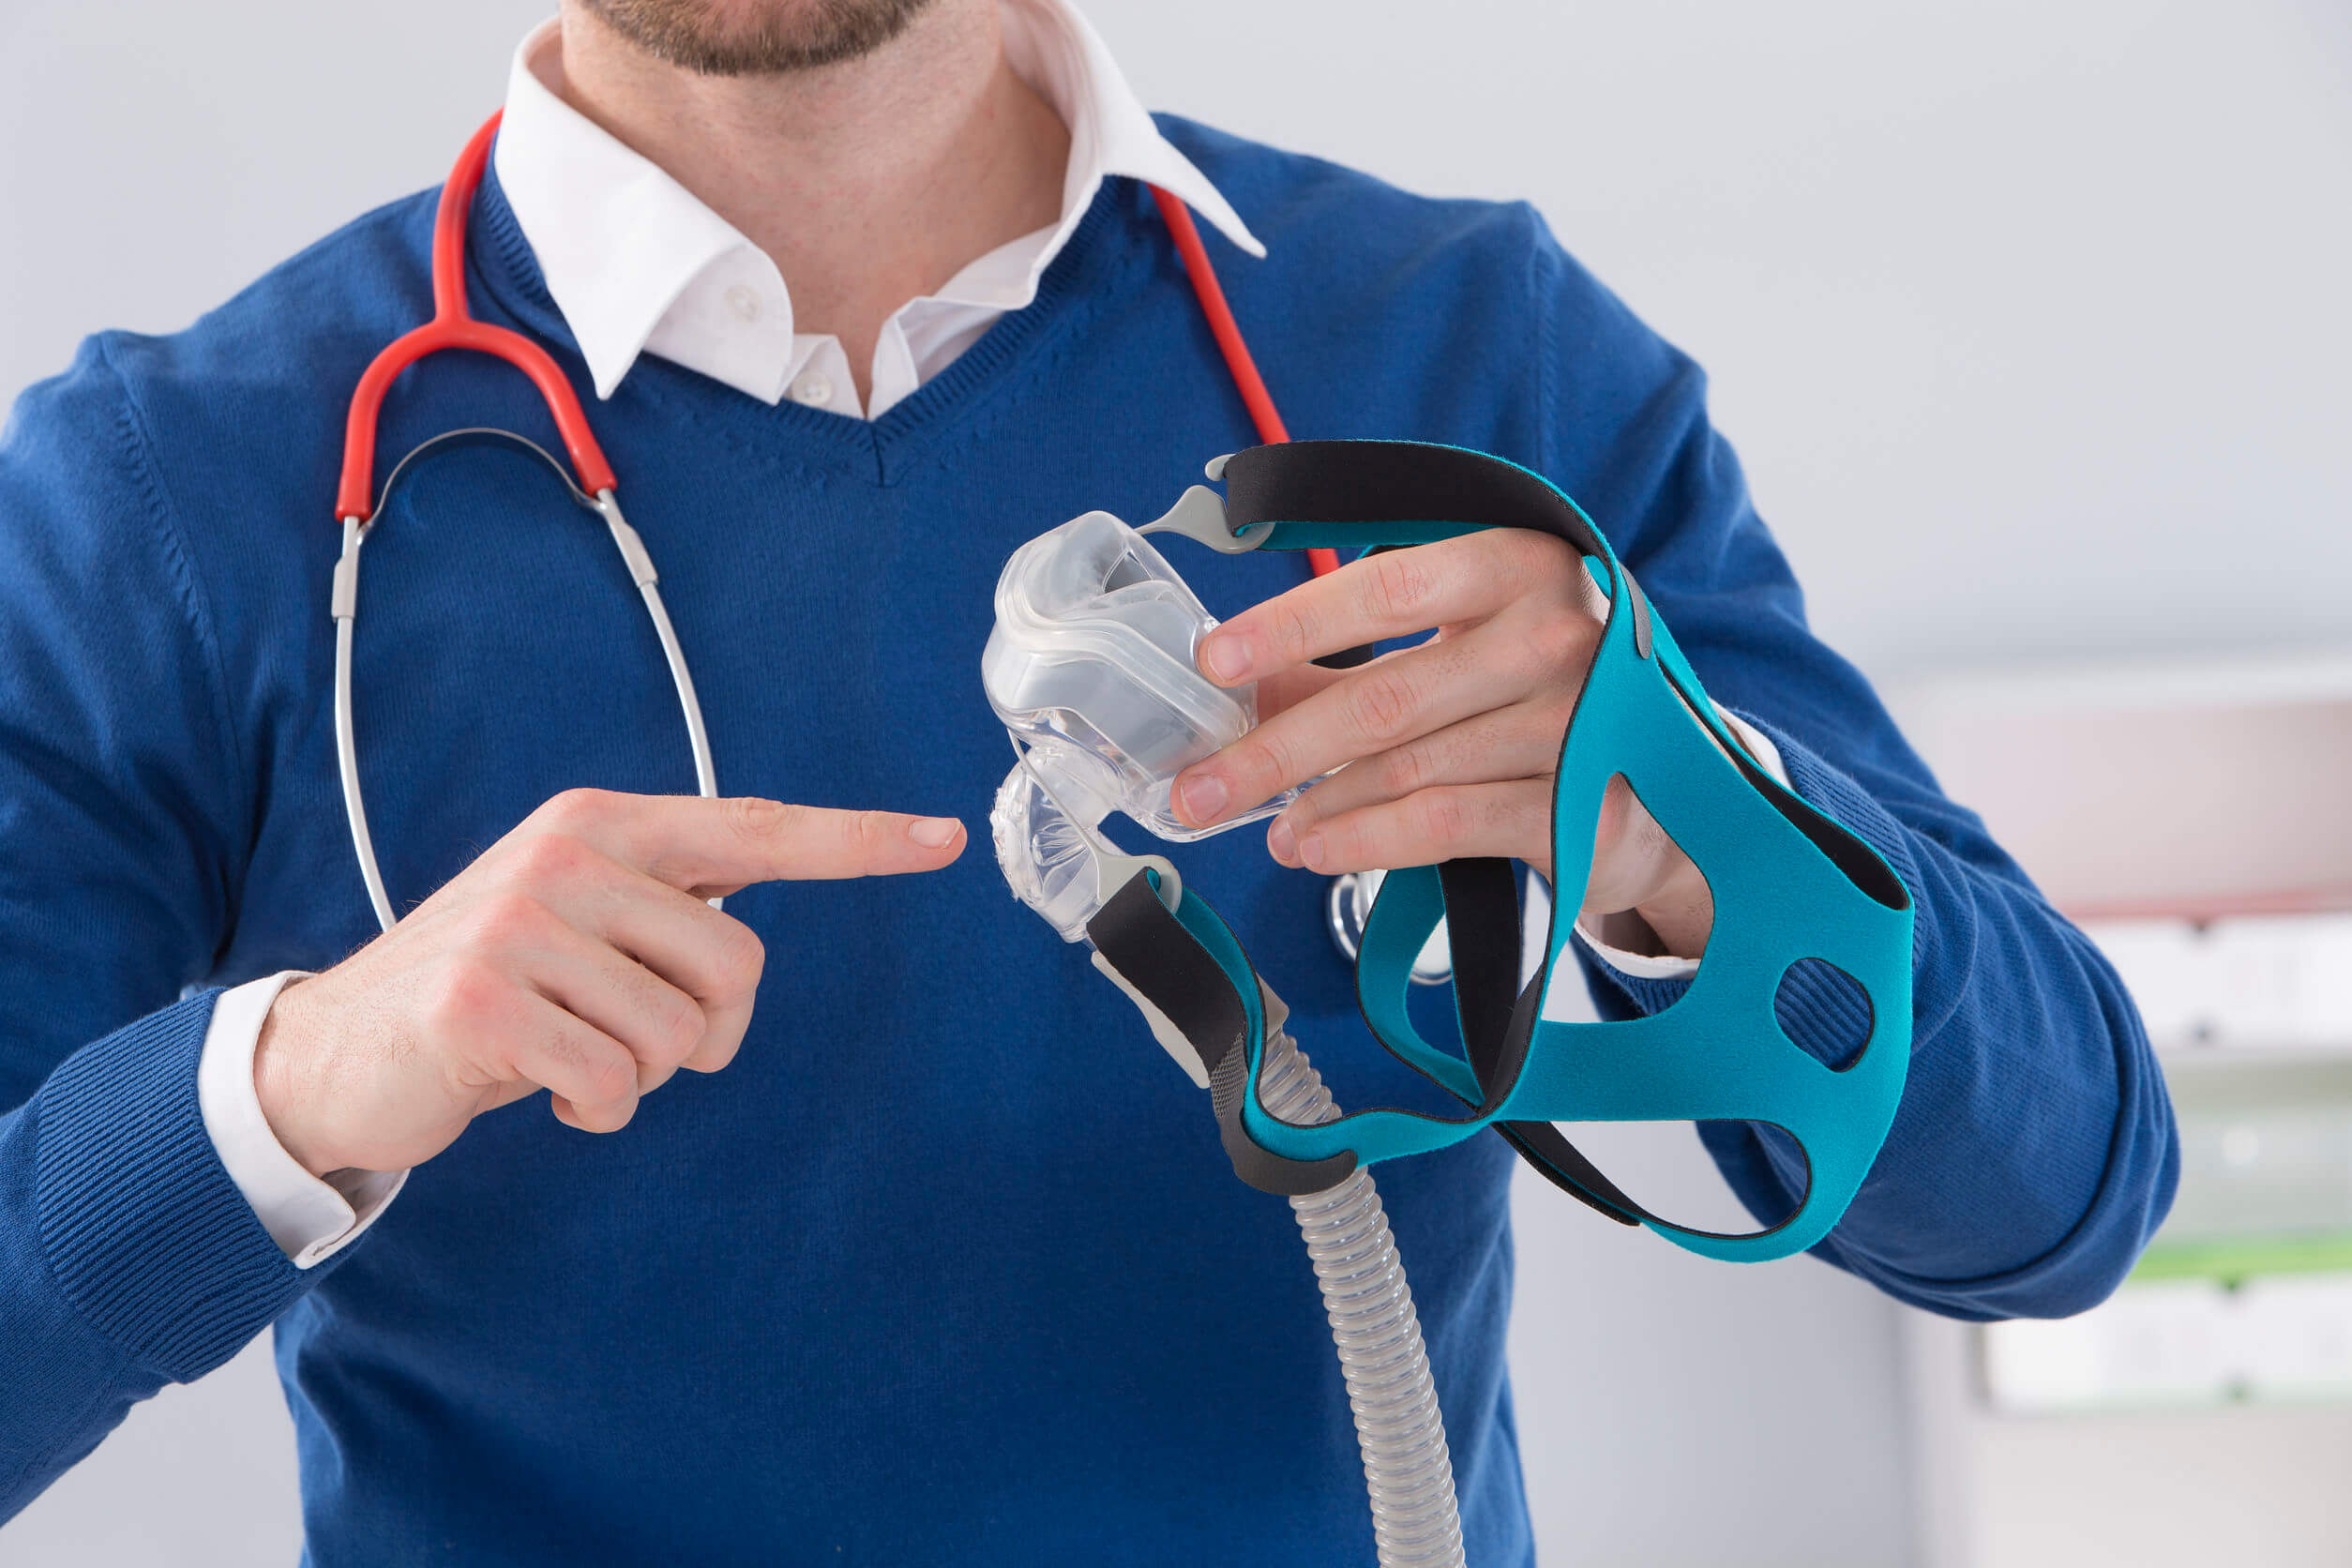
CPAP Masks
Our CPAP masks are designed with your comfort in mind. They provide a secure fit and airtight seal, ensuring effective sleep apnea therapy. Explore our wide selection of CPAP masks from top brands, including ResMed, and experience restful nights and improved overall well-being.
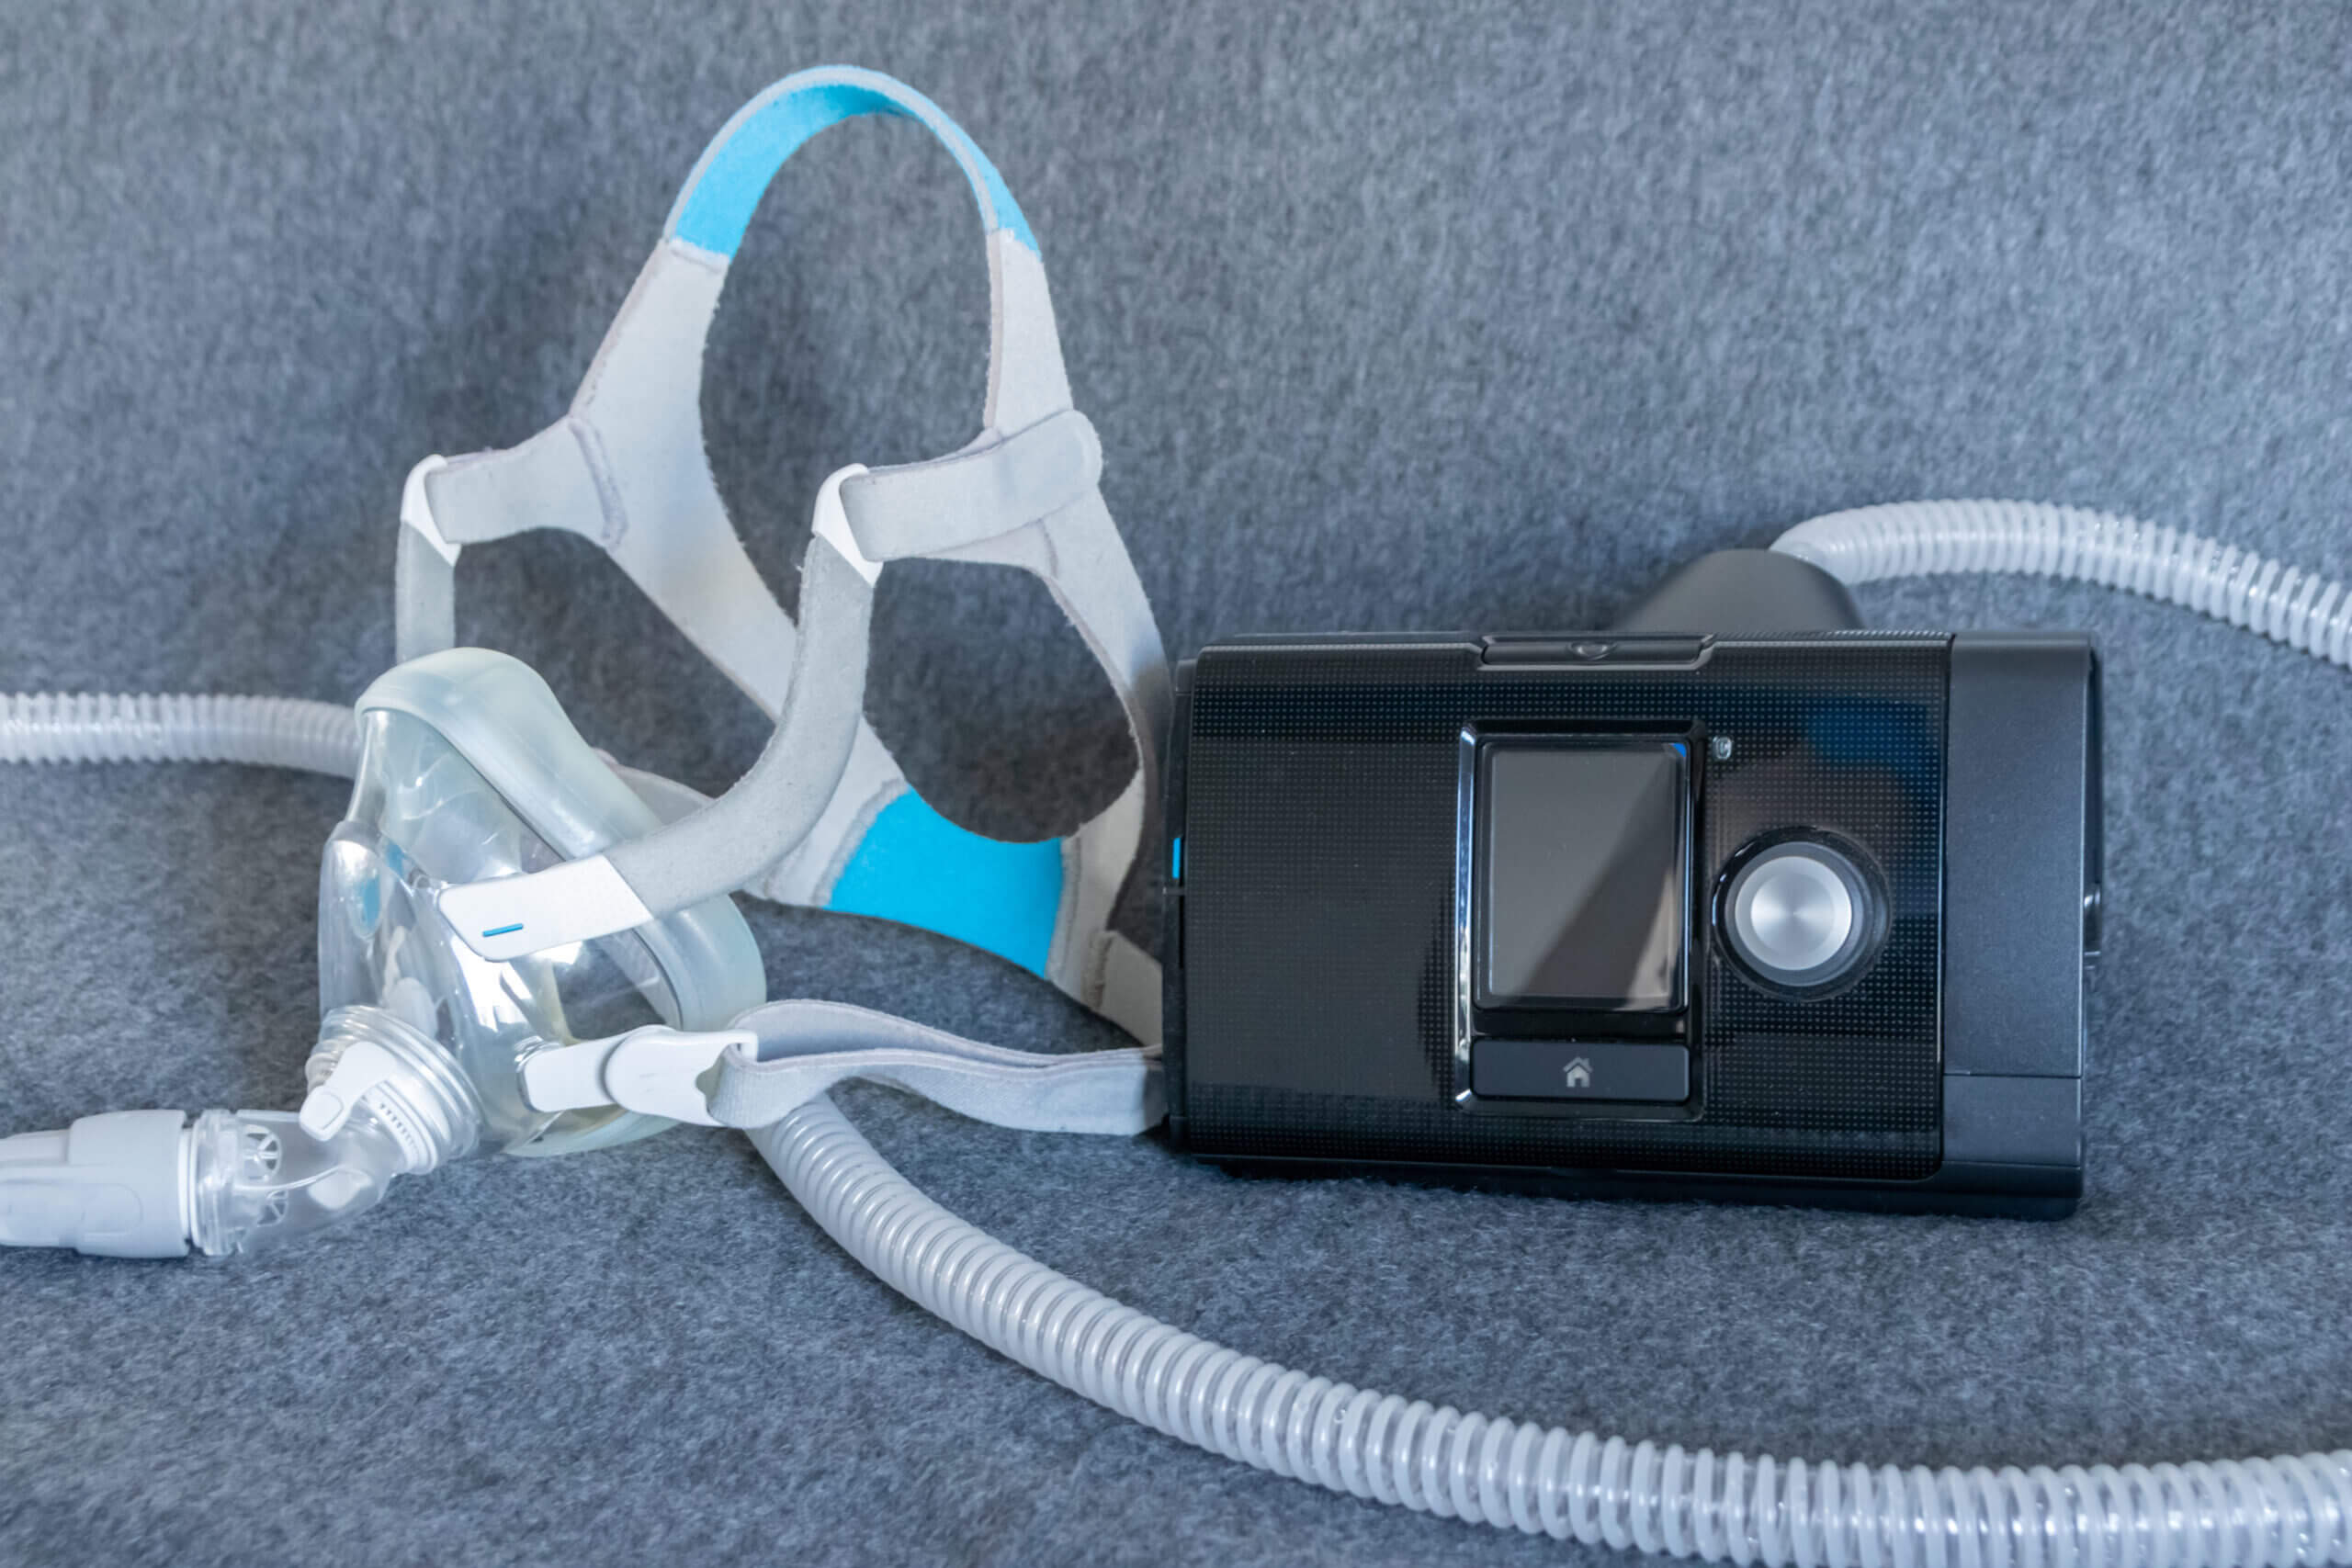
ResMed AirSense 10
The ResMed AirSense 10 is a cutting-edge CPAP machine known for its quiet operation and advanced features. Designed to enhance sleep apnea therapy, it offers precise pressure adjustments, integrated humidification, and connectivity options for monitoring. Experience a more comfortable and effective sleep apnea treatment with the ResMed AirSense 10.
Sleep Apnea Treatment
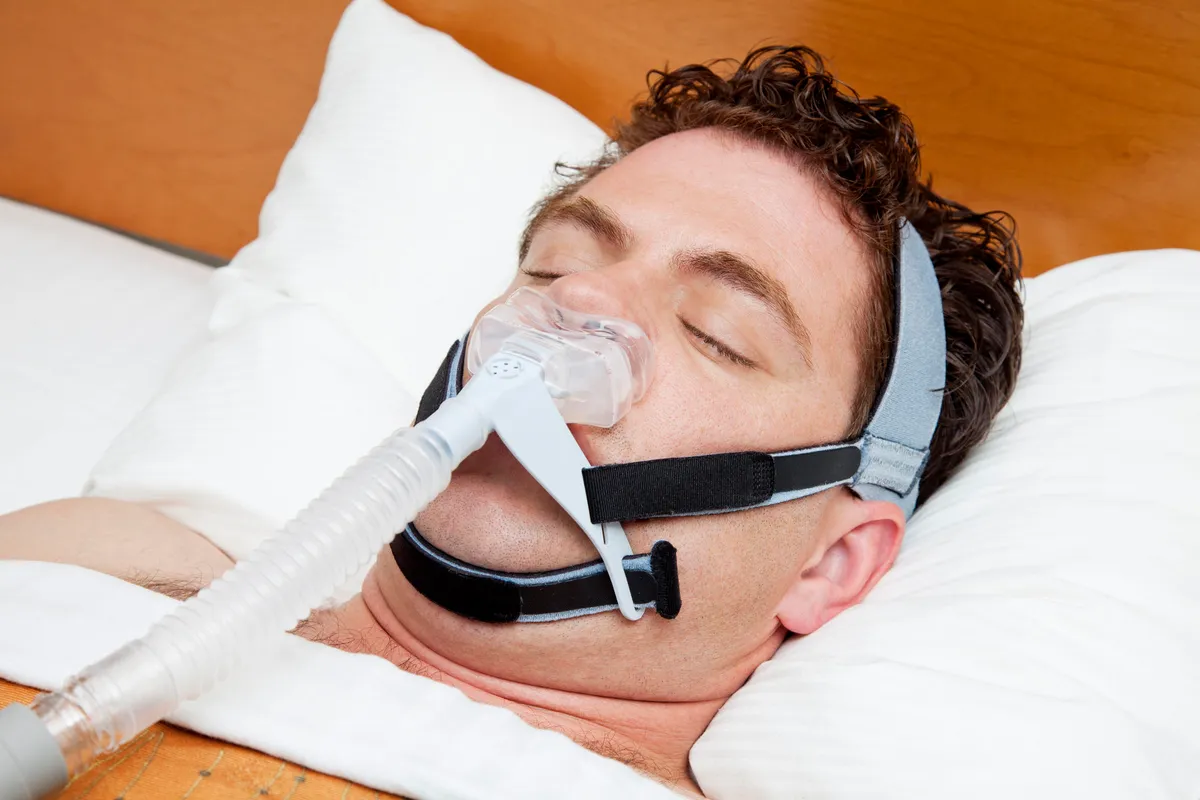
Effective sleep apnea treatment includes lifestyle changes, positional therapy, and CPAP (Continuous Positive Airway Pressure) therapy. Lifestyle adjustments such as weight management and avoiding alcohol can help. CPAP therapy, involving a machine and mask, is often the primary choice, ensuring continuous airflow during sleep, alleviating symptoms, and improving sleep quality.
The Post Grid
Finding a Sleep Apnea Test Near Me: What Are My Choices?
If you suspect that you may have sleep apnea, it is important to get tested as soon as possible. Sleep apnea is a serious sleep disorder that can have significant health consequences if left untreated. In this article, we will explore the different options available for sleep apnea testing and how you can find a...
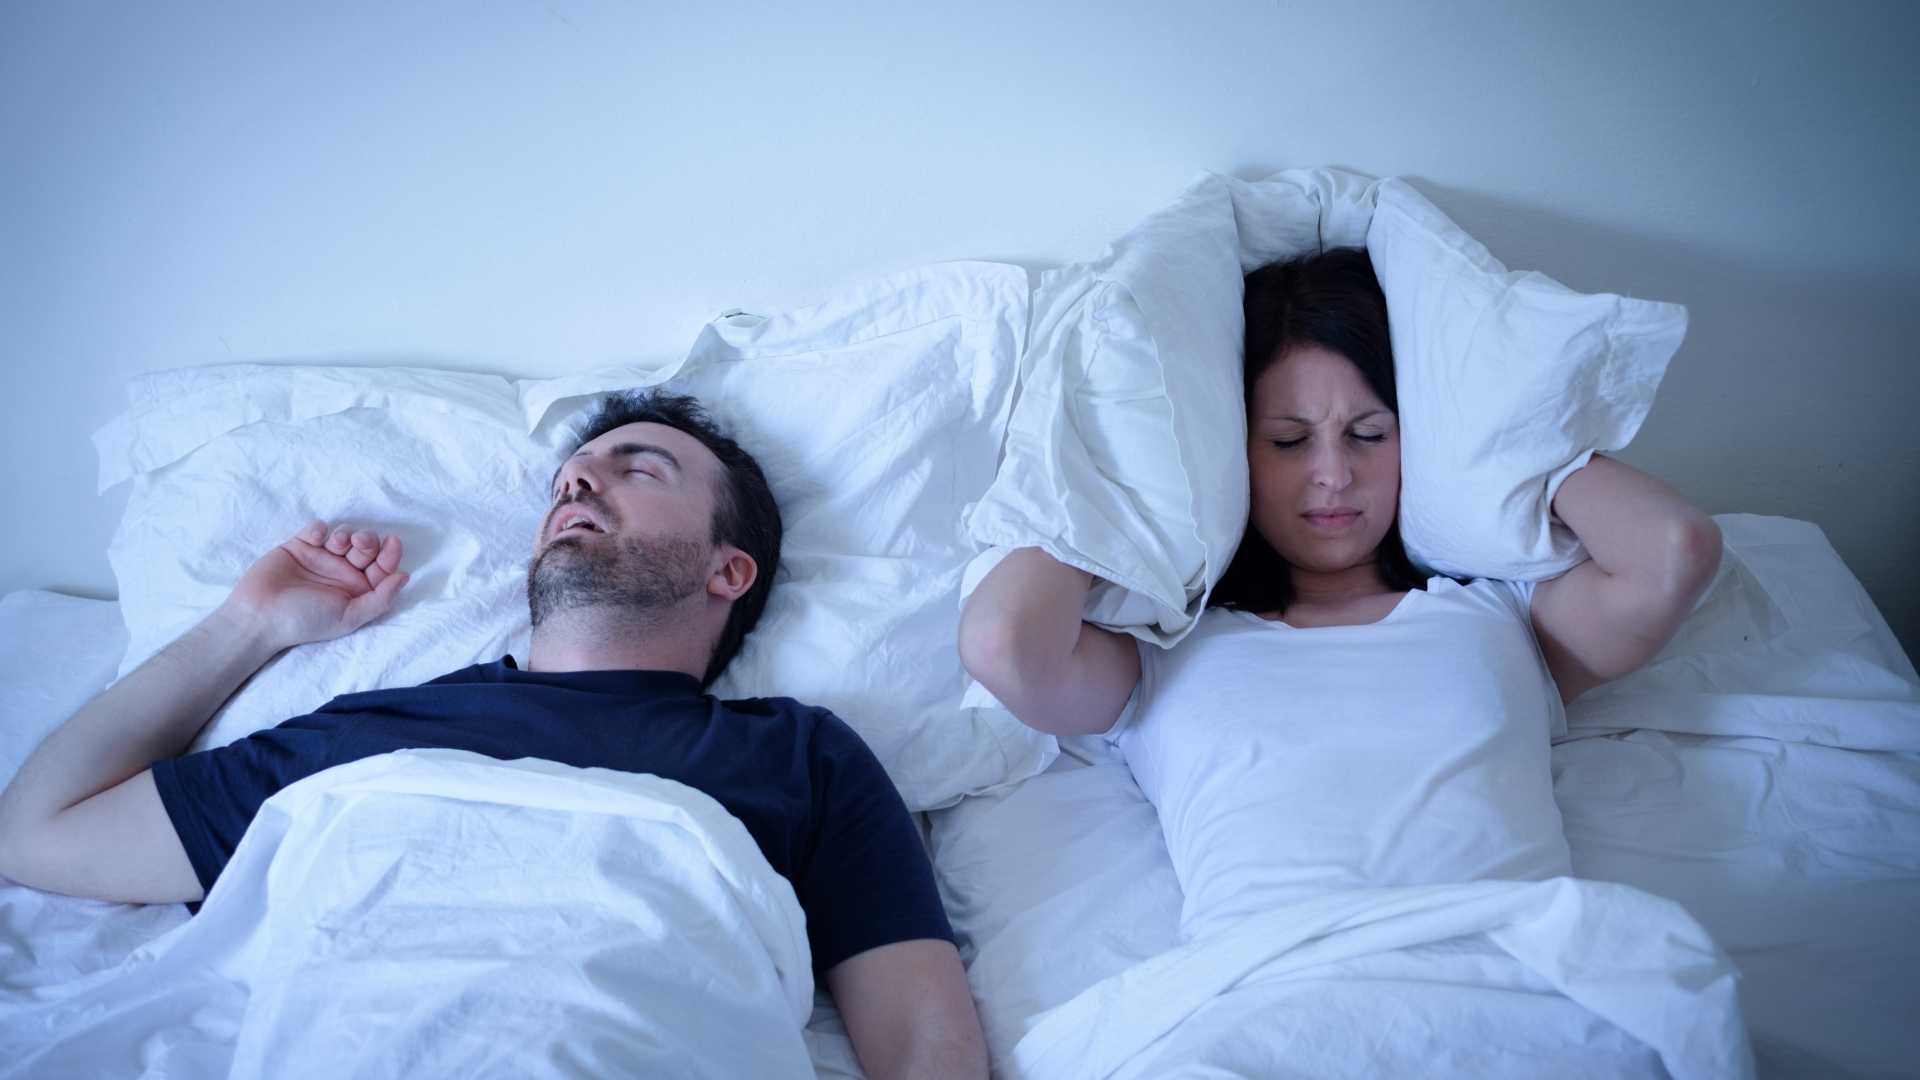
How to Access a Bulk Billed Sleep Apnea Test
Sleep apnea is a sleep disorder that affects millions of people worldwide. It is characterized by pauses in breathing or shallow breaths during sleep, leading to poor sleep quality and potential health risks. If you suspect that you may have sleep apnea, it is important to seek a diagnosis and treatment. Fortunately, accessing a bulk...
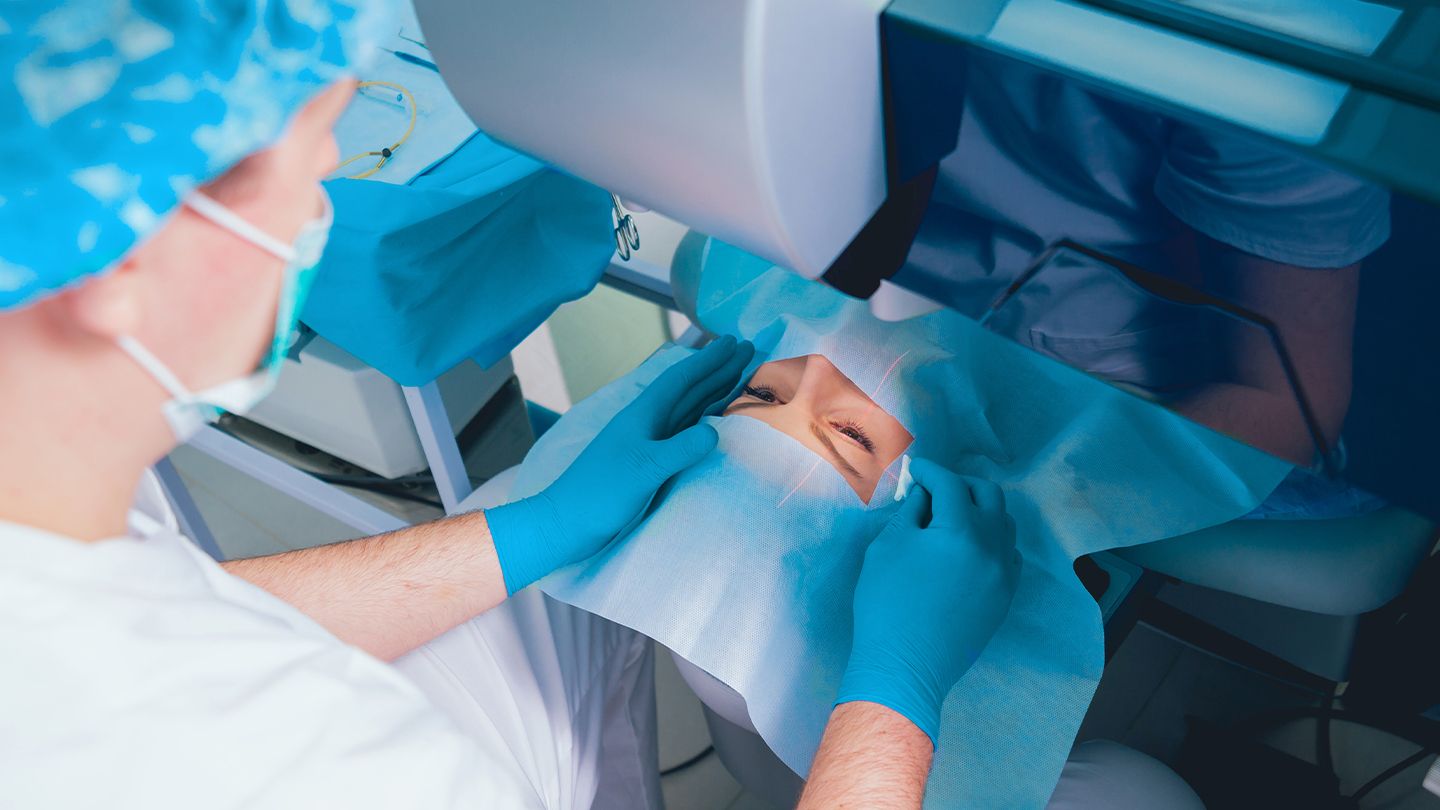
The Role of Glaucoma Surgery in Preserving Your Vision
Glaucoma is a serious eye condition that affects millions of people worldwide. It is often referred to as “the silent thief of sight” because it can cause irreversible vision loss without any warning signs. Thankfully, glaucoma surgery has emerged as a critical treatment option in preserving vision for those diagnosed with this condition. Understanding Glaucoma:...
Understanding the Importance of ResMed Masks
In the world of sleep therapy, ResMed masks play a crucial role. These masks are designed to provide comfort and support for individuals undergoing sleep therapy, ensuring they receive the full benefits of the treatment. Understanding the importance of resmed masks is essential for anyone considering or currently using sleep therapy. Sleep therapy, also known...
Unlocking Superior Comfort and Seal with ResMed Masks
Finding the right mask for Continuous Positive Airway Pressure (CPAP) therapy is vital to achieving optimal comfort and seal. ResMed, a leading manufacturer of sleep apnea equipment, is renowned for its masks’ exceptional quality and innovative features. In this article, we will explore the importance of comfort and seal in CPAP therapy and delve into...
Testimonials
What My Clients Say?
"I had been struggling with sleep apnea for years until I found Grenat. Their CPAP machine recommendations and masks made a world of difference. I now wake up feeling refreshed and full of energy. Thank you,
Charlie Marsh
Client
"Commitment to natural face therapy for sleep apnea is impressive. I appreciate their dedication to finding holistic solutions to improve sleep quality."
Oliver Bonney
Client
"The ResMed AirSense 10 I purchased from Grenat has been a game-changer. It's so quiet, and the results have been incredible. I can't thank Natural Face Therapy enough."
Madeleine Shoebridge
Client