
When to Replace Your CPAP Mask: The 2026 Maintenance Checklist for Better Sleep
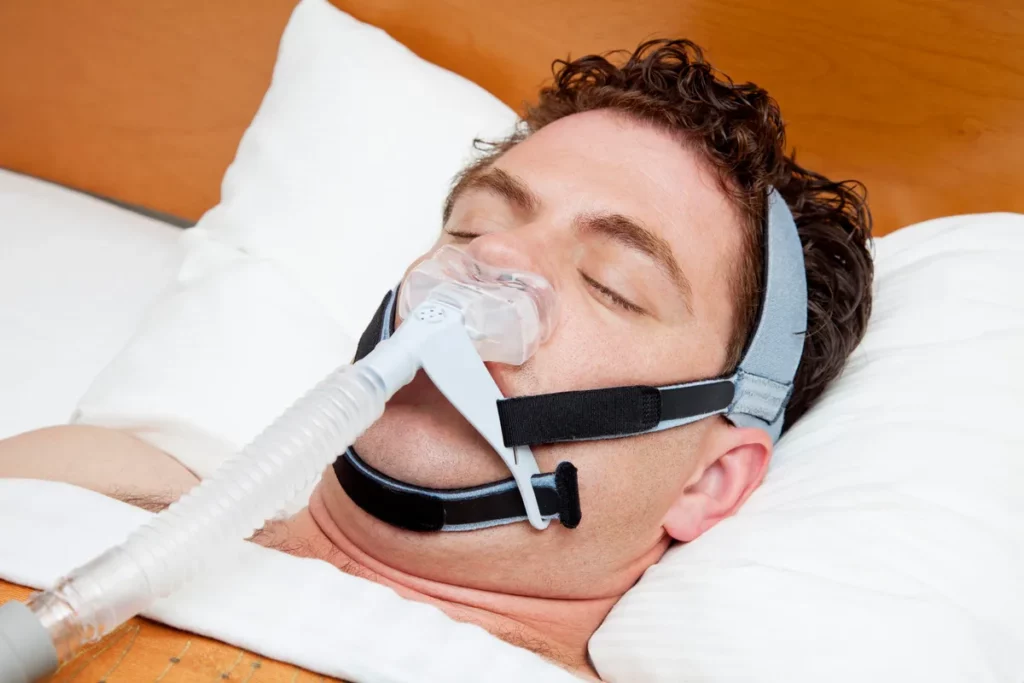
Waking up with a dry mouth, red marks on your face, or a noisy air leak is a clear signal that your sleep apnea therapy is failing. In Australia, where dust and humidity levels vary significantly by region, maintaining your CPAP equipment isn’t just about hygiene—it is about ensuring the air pressure delivered by your machine remains therapeutic.
If you are wondering when to replace your CPAP mask, you aren’t alone. Most users wait until a part snaps or breaks before looking for a replacement. However, clinical data suggests that the silicone and polymers in your mask degrade long before they visibly fall apart. This 2026 maintenance checklist provides a professional framework for replacing CPAP parts to optimize your health outcomes and machine longevity.
Why CPAP Maintenance Is Non-Negotiable in 2026
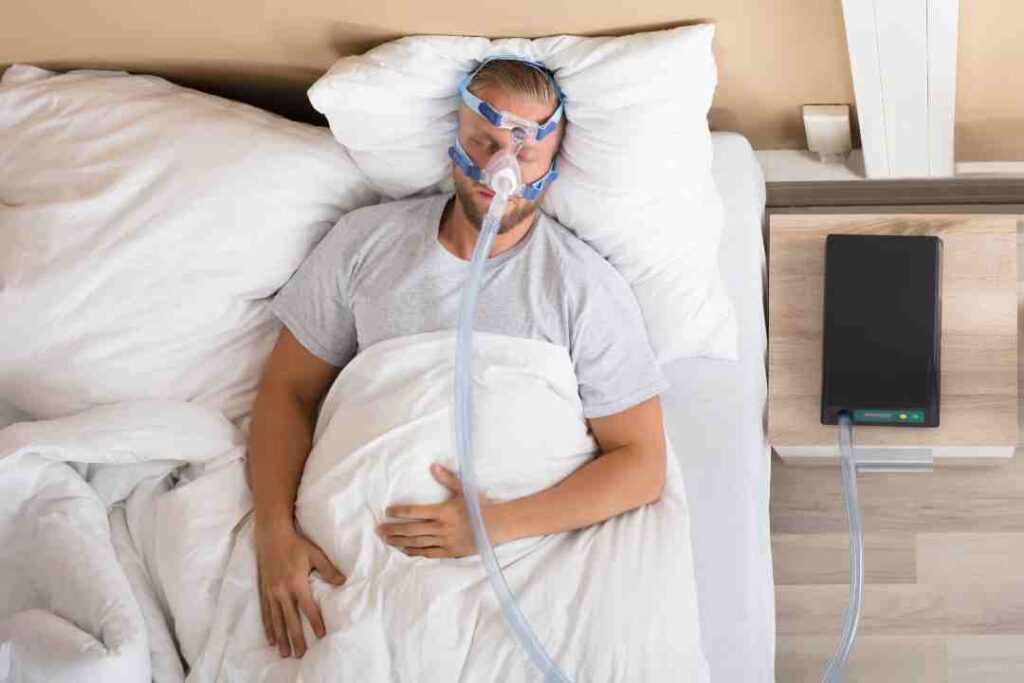
CPAP therapy (Continuous Positive Airway Pressure) relies on a closed-circuit system. If any component of that system—the mask, the cushion, the tube, or the filter—is compromised, the efficacy of your treatment drops.
See more: Sleep Testing Devonport: A Step-by-Step Guide to Getting Started
The Science of Silicone Degradation
Most CPAP mask cushions are made of medical-grade silicone. Over time, the oils from your skin, even with regular cleaning, begin to break down the molecular structure of the silicone. This causes it to become “tacky” or overly soft, preventing it from forming a high-quality seal against your face. When the seal fails, your machine has to work harder to compensate for the leak, often leading to increased noise and inconsistent pressure delivery.
Health Risks of Outdated Equipment
Using expired or dirty CPAP components can lead to:
- Bacterial Growth: Moisture in the tubing and mask is a breeding ground for mold and bacteria.
- Skin Irritation: Degraded silicone can cause contact dermatitis and pressure sores.
- Respiratory Infections: Old filters allow fine dust and allergens to enter your lungs.
- Sub-therapeutic Treatment: Micro-leaks mean you aren’t receiving the full pressure required to keep your airway open.
The 2026 CPAP Replacement Schedule: At a Glance
To simplify your maintenance, we have broken down the replacement cycles into a logical timeline based on Australian clinical standards and manufacturer recommendations.
| Component | Replacement Frequency | Why It Needs Replacing |
| Mask Cushion/Pillow | Every 1–3 Months | Loses seal integrity; absorbs facial oils. |
| Disposable Filters | Every 30 Days | Clogs with dust; restricts motor airflow. |
| Mask Frame | Every 6 Months | Plastic fatigue and structural micro-cracks. |
| Headgear & Chin Straps | Every 6 Months | Elasticity loss leads to over-tightening. |
| CPAP Tubing | Every 6–12 Months | Internal biofilm buildup and pinhole leaks. |
| Humidifier Water Tub | Every 6–12 Months | Mineral buildup and potential for cracks. |
Deep Dive: When to Replace Your CPAP Mask Parts
1. The Mask Cushion (The Critical Seal)
The cushion is the most frequently replaced part. Because it sits directly against your skin, it is exposed to sweat and sebum 7–9 hours a night.
- Signs of Failure: You find yourself tightening the headgear more than usual to stop leaks, or you notice “whistling” sounds during the night.
- The 2026 Standard: Replace every 1 to 3 months to maintain a “feather-light” seal.
2. Air Filters (The Machine’s Lungs)
Filters protect both you and the machine’s motor. In many parts of Australia, especially during bushfire seasons or high pollen counts, these may need more frequent attention.
- Signs of Failure: The filter appears grey, black, or dingy.
- The 2026 Standard: Check weekly; replace disposable filters every 30 days without exception.
3. Headgear and Straps (The Support System)
Headgear is made of neoprene or similar elastic materials. As they stretch, users tend to over-tighten them to compensate.
- The Danger: Over-tightening causes facial pain and actually deforms the mask cushion, creating more leaks.
- The 2026 Standard: Replace every 6 months to ensure the mask is held in place by fit, not force.
Step-by-Step Process for CPAP Equipment Inspection
Follow this 4-step framework every Sunday morning to ensure your equipment is in peak condition:
- The Visual Leak Test: Run your machine’s “Mask Fit” mode. Move your head on the pillow. If you hear air escaping, inspect the cushion for thinning areas.
- The Tactile Check: Run your fingers over the silicone. If it feels slippery (even after washing) or excessively stiff, the material has reached its end-of-life.
- The Filter Light Test: Hold your filter up to a bright light. If you cannot see light through the fibers, the airflow is restricted.
- The Tubing Stretch: Inspect the ends of your CPAP hose. If the rubber cuffs are loose or sliding off the machine easily, the seal is compromised.
Best Practices for Extending Equipment Life
While replacement is inevitable, proper care can ensure your parts last the full duration of their intended cycle.
- Daily Cleaning: Wipe the cushion with a CPAP-specific wipe or mild, unscented soap to remove skin oils immediately after waking.
- Weekly Deep Clean: Submerge the mask (minus headgear) and tubing in warm, soapy water. Rinse thoroughly and air dry out of direct Australian sunlight, which can brittle the plastic.
- Distilled Water Only: Always use distilled water in your humidifier to prevent calcium and lime scale buildup in the tank.
- Avoid Chemicals: Never use bleach, alcohol, or scented oils on your mask, as these will destroy the silicone and irritate your lungs.
Common Mistakes to Avoid
- “If it isn’t broken, don’t fix it”: This is the most dangerous mindset in CPAP therapy. Micro-tears and bacterial colonies are invisible to the naked eye.
- Buying “Generic” Cushions: Cheap, non-branded cushions often use lower-grade silicone that off-gasses chemicals or fails to provide a consistent seal.
- Washing Filters: Disposable “fine” filters are not designed to be wet. Washing them destroys the electrostatic charge that traps small particles.
Internal & External Resource Suggestions
Internal Linking Opportunities (Anchor Text):
- “Browse our range of replacement CPAP cushions“
- “How to choose the best CPAP mask for side sleepers“
- “Benefits of using a heated CPAP hose in winter”
- “Shop CPAP cleaning supplies and wipes“
Authoritative External References:
- Sleep Health Foundation (Australia) – For clinical guidelines on Sleep Apnea treatment.
- Medicare Australia / NDIS – Regarding equipment subsidies and replacement schedules.
Frequently Asked Questions (FAQ)
How often should I replace my CPAP mask in Australia?
In Australia, it is recommended to replace the mask frame every 6 months and the silicone cushion every 1–3 months, depending on your skin type and cleaning habits.
Can I wash my CPAP filters?
No. Disposable filters must be replaced. Only “reusable” foam filters (found in some older machines) can be rinsed, but even these should be replaced every 6 months.
Why is my CPAP mask leaking all of a sudden?
The most common cause is a degraded cushion that has become too soft to hold a seal, or headgear that has stretched out, allowing the mask to shift during sleep.
Will a new mask help with skin irritation?
Yes. Often, skin irritation is caused by the buildup of bacteria on an old cushion or the need to over-tighten old, stretched headgear. A fresh cushion requires less pressure to seal.
Does my CPAP machine tell me when to change parts?
Some modern machines (like the ResMed AirSense 11 or Fisher & Paykel SleepStyle) have built-in reminders, but these are timers, not sensors. You should still perform manual inspections.
Conclusion: Better Maintenance, Better Sleep
Understanding when to replace your CPAP mask is the difference between struggling with your therapy and waking up feeling truly refreshed. By following the 2026 maintenance checklist, you protect your respiratory health, extend the life of your machine, and ensure your sleep apnea is managed effectively.
Don’t wait for a total equipment failure to prioritize your sleep. Check your filters today, feel the texture of your cushion, and ensure your headgear still has the tension it needs to support your journey toward better health.